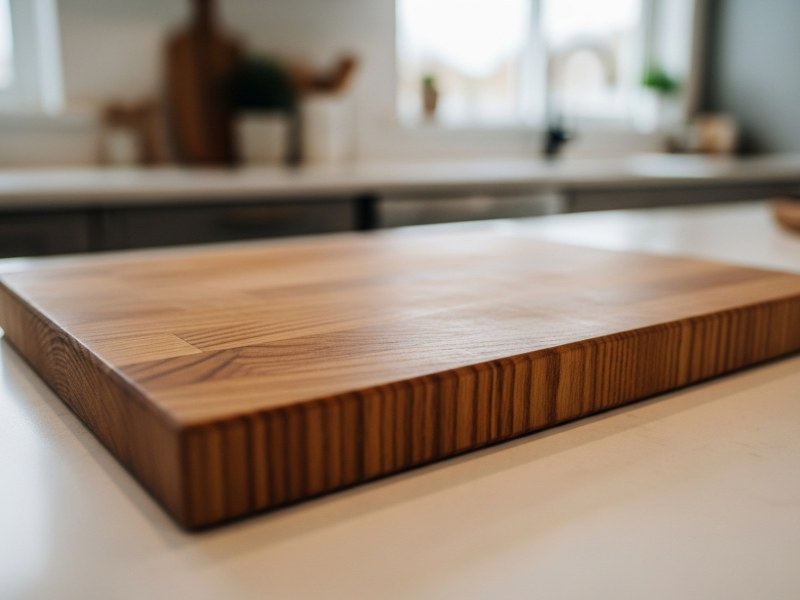
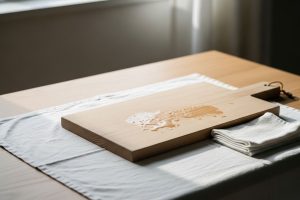
Sealing a cutting board protects wood from drying, cracking, and bacterial buildup. This process saturates wood fibers with food-safe oil or wax to block moisture penetration. Whether you cook daily or craft custom boards, understanding proper sealing techniques extends board life and maintains hygiene. This guide covers why unsealed boards fail, which oils work best, step-by-step application methods, resealing schedules, and expert maintenance principles.

Reasons Cutting Boards Crack Without Sealing
Wood behaves like a living material even after harvest. When unsealed boards encounter kitchen conditions, the cellular structure reacts to moisture, temperature, and repeated stress. Understanding these mechanisms helps you prevent damage before it starts.
Drying Out from Lack of Oil Maintenance
Wood cells contain natural moisture that helps maintain their structural integrity. Without regular oil treatment, these cells lose moisture to the surrounding air. The result is shrinkage and eventual cracking. Sealed wood retains flexibility because oil fills the microscopic pores, preventing moisture escape. Unsealed wood exhibits open grain channels, allowing water to evaporate quickly. This difference between saturated and dry pores determines whether your board lasts one year or ten.
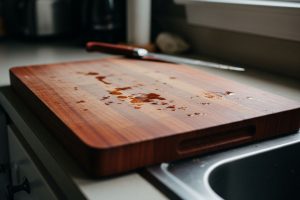
Exposure to Excess Water or Soaking in the Sink
Water absorption causes wood fibers to swell. When the board dries, those fibers contract. This repeated swelling and contraction cycle creates microfractures across the grain. These tiny cracks widen with each wash cycle until visible splits appear. The cardinal rule for board care: never soak wooden boards in standing water. Even five minutes of submersion can undo months of proper maintenance. Quick rinses followed by immediate drying preserve structural stability.
Rapid Changes in Humidity or Temperature
Wood expands when warm and humid, contracts when cold and dry. Moving a chilled board from the refrigerator to a hot counter creates stress across the grain. Similarly, placing a board near a stove or dishwasher exposes it to temperature extremes. Each expansion-contraction cycle weakens the cell walls. Consistent storage in moderate conditions reduces this stress. A sealed surface buffers these changes, allowing the wood to adjust gradually rather than fracturing under sudden shifts.
Best Oils and Sealants for Cutting Boards
Sealing oils create a moisture barrier that extends board longevity while maintaining food safety. The right choice depends on usage frequency, desired finish, and maintenance commitment. USDA and FDA guidelines confirm that food-grade mineral oil and certain natural oils meet safety standards for direct food contact. Each option offers distinct chemistry and performance characteristics.
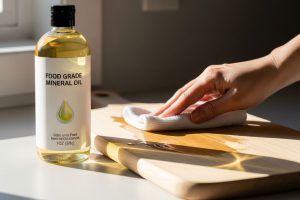
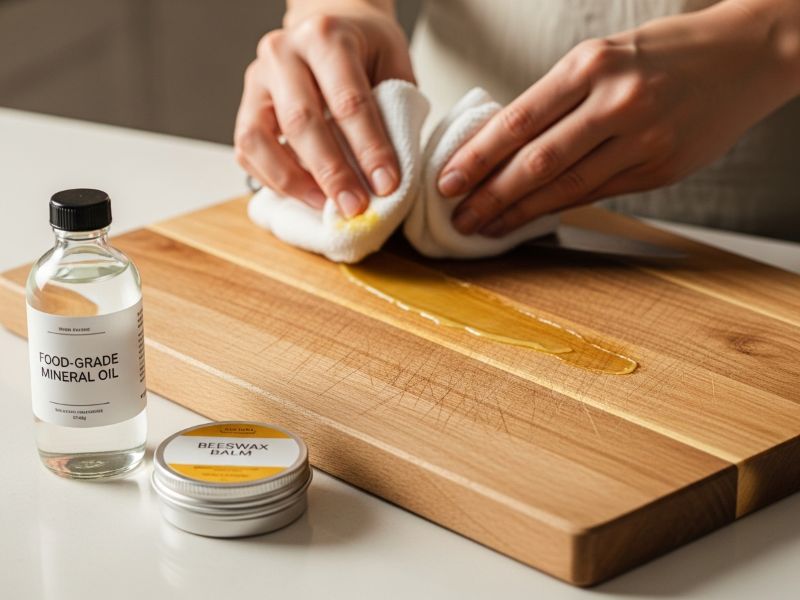
Mineral Oil – Food-Safe, Most Common, Easy to Apply
USP-grade mineral oil refers to petroleum-derived oil purified to United States Pharmacopeia standards. This neutral, odorless liquid penetrates wood without leaving residue or spoiling over time. The affordability makes it accessible for routine maintenance. Apply mineral oil monthly for boards used several times per week. The treatment takes minutes and requires no special equipment. This option remains the standard recommendation from professional woodworkers and health departments.
Beeswax + Mineral Oil Blend – Adds Water Resistance and Shine
Combining four parts mineral oil with one part beeswax creates a conditioner that hardens into a protective layer. Melt the mixture in a double boiler, apply warm with a cloth, then buff after cooling. This treatment delivers three key benefits: enhanced water repellency, an attractive satin sheen, and extended time between applications. The wax seals surface pores more completely than oil alone. Expect to reapply every two to three months with regular use.
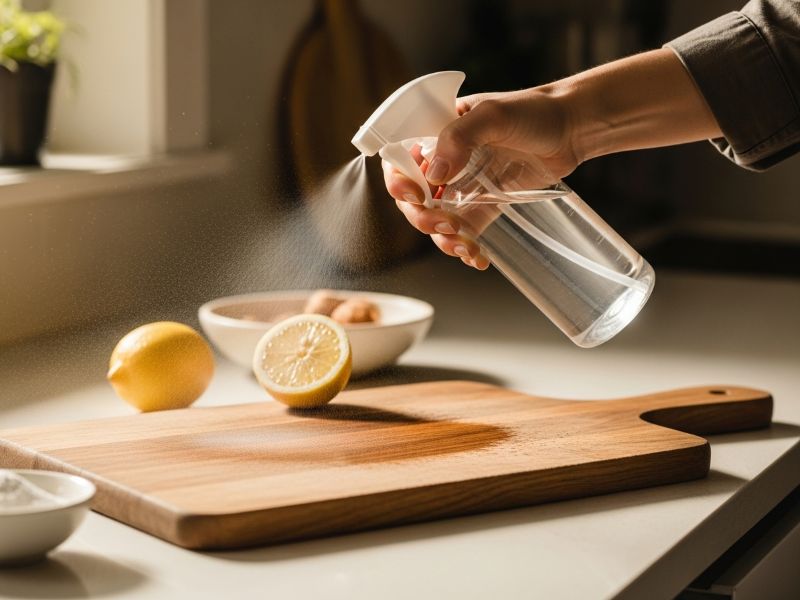
Vinegar Solution
Dilute one part white vinegar with three parts water for a disinfecting rinse that neutralizes odors. Acetic acid in vinegar reacts with bacteria and food residues, creating a cleaner surface. Apply with a damp cloth, wipe across the board, then dry immediately. This method supplements oil treatment rather than replacing it. Never soak the board in vinegar solution, as prolonged exposure strips natural oils and dries the wood. Use this approach weekly for boards that contact raw proteins.
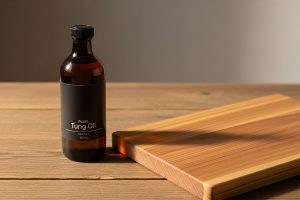
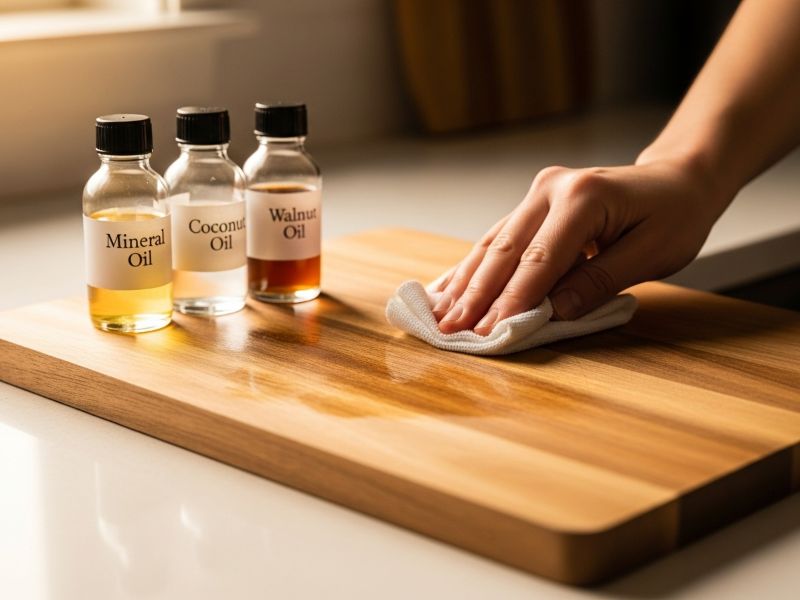
Natural Drying Oils (Tung, Walnut)
Polymerizing oils cure through oxidation, forming a harder finish than mineral oil. Tung oil and walnut oil penetrate deeply and solidify within the wood structure. Advantages include durability and a hand-rubbed appearance. Drawbacks involve long cure times (up to seven days) and potential allergen concerns with walnut oil. Expert woodworkers favor these oils for presentation boards and serving pieces that see less knife contact. For daily cutting surfaces, the extended drying period and allergy risk make mineral oil more practical.
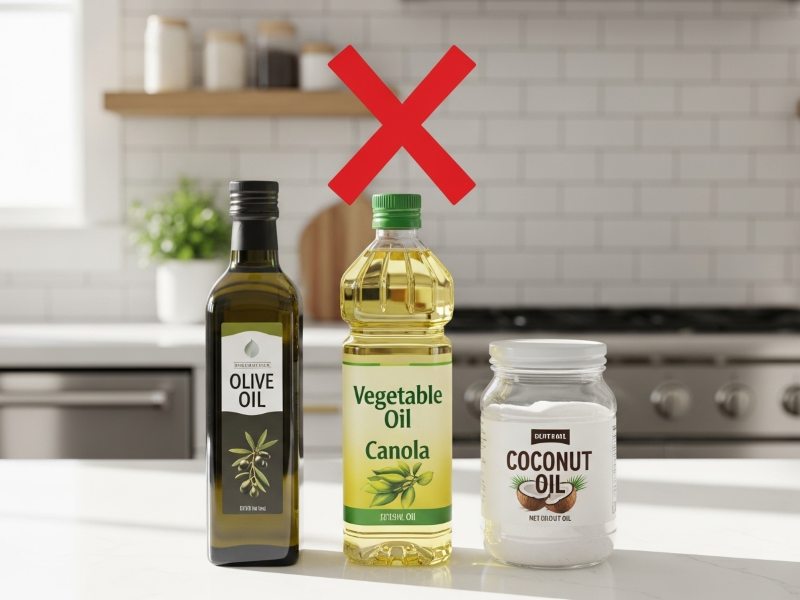
Avoid Vegetable Oils Like Olive or Corn Oil – They Spoil and Turn Rancid
Olive, corn, and canola oils contain polyunsaturated fats that oxidize when exposed to air. This oxidation produces rancid odors and sticky residue within weeks. The degraded oil attracts bacteria rather than repelling moisture. Unsealed wood treated with these oils becomes a breeding ground for microorganisms. The resulting smell and texture make the board unusable. Stick to mineral oil or properly cured drying oils to maintain food safety and board function.
Quick Comparison Table
| Oil Type | Durability | Food Safety | Maintenance | Notes |
|---|---|---|---|---|
| Mineral Oil | Moderate (monthly reapplication) | FDA approved | High frequency | Most affordable, readily available |
| Beeswax Blend | High (2-3 months) | Food-safe when properly sourced | Moderate frequency | Creates a water-resistant barrier |
| Tung Oil | Very High (6+ months) | Food-safe after full cure | Low frequency | Requires 7-day cure time |
| Walnut Oil | High (3-4 months) | Food-safe with allergy warning | Moderate frequency | Not suitable for nut-allergic households |
| Vegetable Oils | None (spoils rapidly) | Unsafe after rancidity | Not recommended | Attracts bacteria, creates odors |
This table clarifies the trade-offs between cost, longevity, and maintenance effort. Choose based on your usage pattern and safety requirements.
Read more: 7 Best Oils for Cutting Boards: Complete Food-Safe Guide (2025 Update)
How to Seal a Cutting Board (Step by Step)
Proper sealing follows a methodical sequence that prepares the wood, applies treatment evenly, and allows adequate cure time. Each step builds on the previous one to create a durable, food-safe finish.
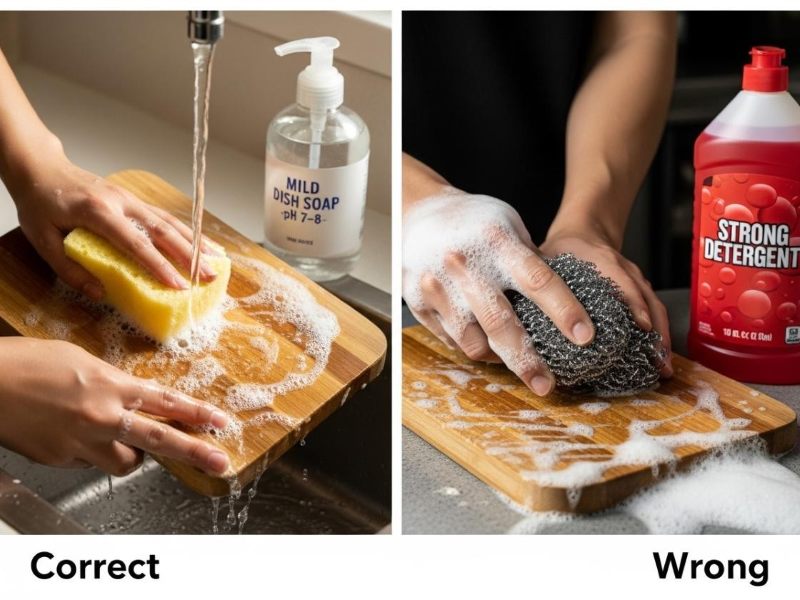
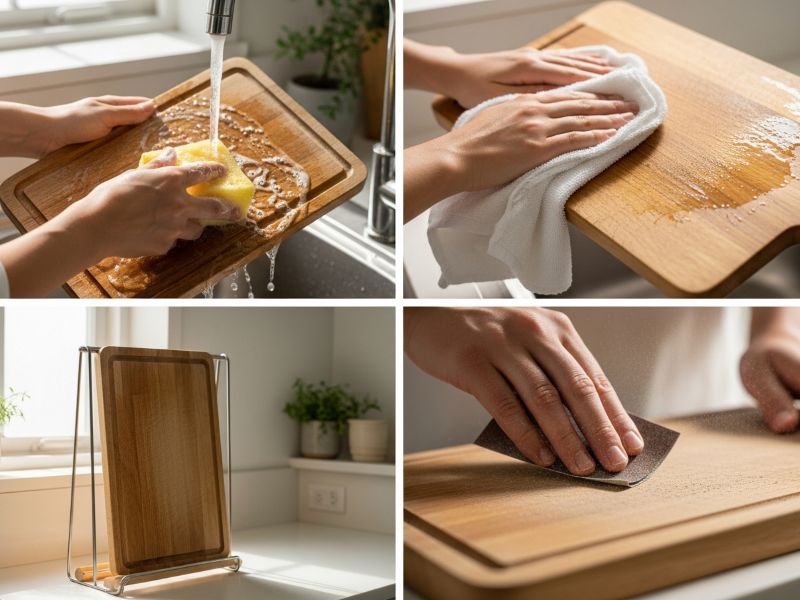
Step 1 – Clean the Board
Wash the surface with mild soap and warm water, scrubbing gently to remove residue. Rinse thoroughly under running water, then stand the board on edge to air-dry for 24 hours. Avoid bleach or harsh detergents that strip natural wood oils. Complete drying prevents trapped moisture from interfering with oil absorption. A damp board cannot accept sealing treatment effectively.
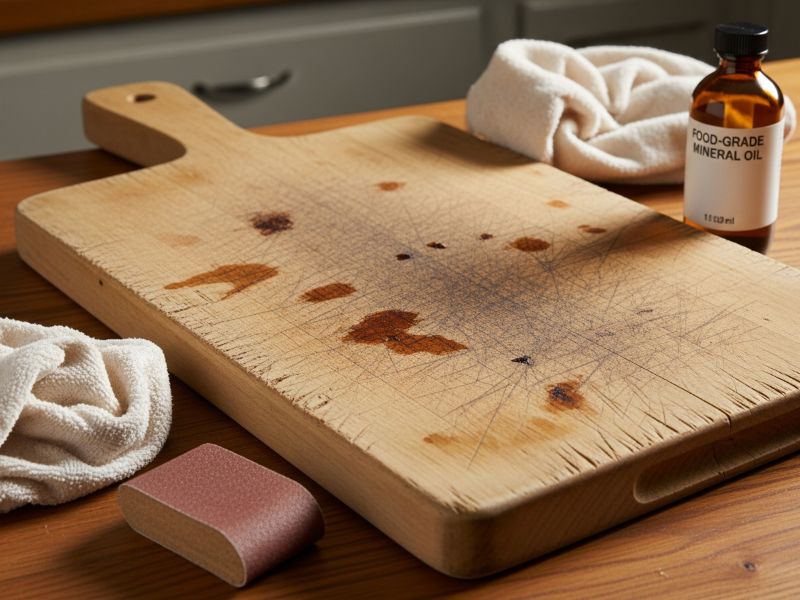
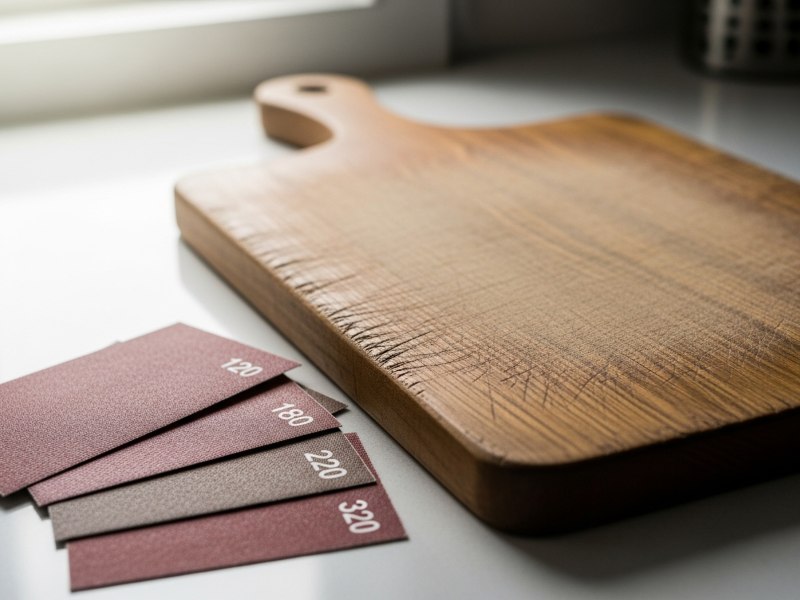
Step 2 – Sand if Necessary
Inspect the surface for roughness or raised grain. Use 220-grit sandpaper for smoothing, working in the direction of the wood grain. Sanding opens the pores and removes old finish, improving oil penetration. Skip this step if the board feels smooth and shows no splinters. After sanding, wipe away dust with a slightly damp cloth and allow another hour of drying. This preparation ensures even oil distribution across the entire surface.

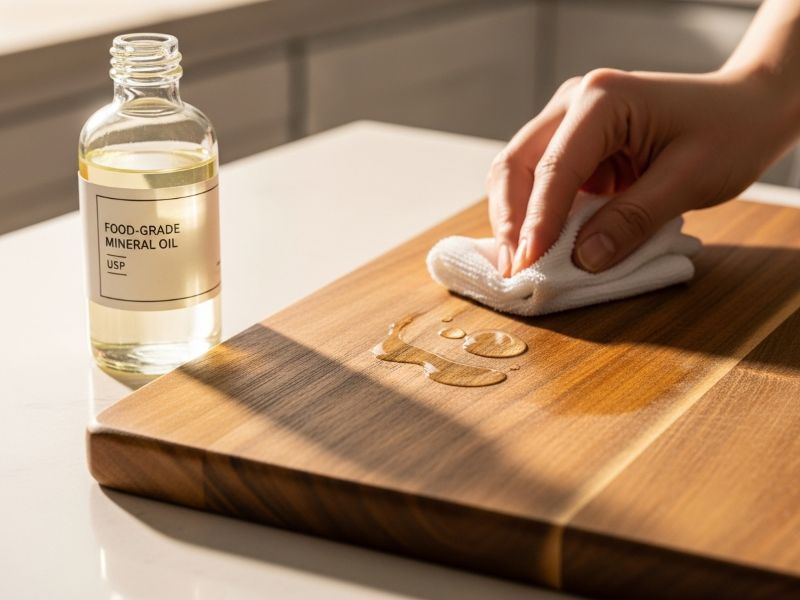
Step 3 – Apply Oil
Pour a small amount of food-grade mineral oil onto a lint-free cloth. Rub the oil across the board surface in long, even strokes, covering the top, bottom, sides, and any grooves or handles. Apply enough to saturate the wood without creating puddles. The cloth method controls application better than pouring oil directly onto the board. Pay attention to the end grain, which absorbs more oil due to the exposed cell structure.
Read more: How to Oil a Cutting Board: Step-by-Step Guide for Long-Lasting Results
Step 4 – Let It Soak
Allow the oil to penetrate for six to eight hours or overnight. During this period, capillary action draws oil into the wood cells, filling air pockets and creating a moisture barrier. The board surface should appear darker and slightly glossy as the wood accepts the treatment. Avoid using the board during this absorption phase. Patience here determines how well the seal performs over time.
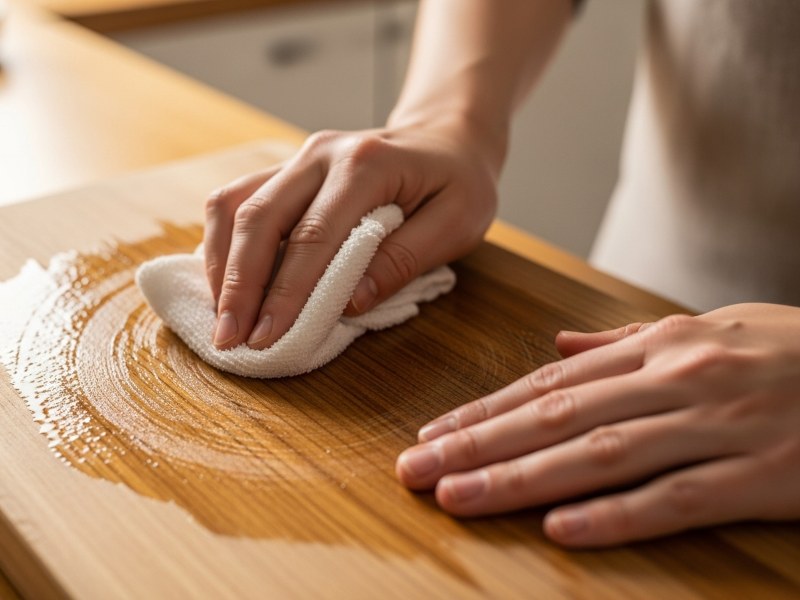
Step 5 – Wipe Off Excess
After the soaking period, use a clean cloth to remove any oil that has not absorbed. Unabsorbed oil creates sticky residue that attracts dust and feels unpleasant during use. Buff the surface in circular motions until it feels dry to the touch. This step also distributes the oil more evenly across the grain. A properly wiped board should feel smooth but not slick.
Step 6 – Repeat Coats
Apply two to three additional coats using the same process: oil application, soaking period, excess removal. New or extremely dry boards require multiple treatments to achieve full saturation. Each coat penetrates slightly deeper than the previous one. After the final coat, consider adding a beeswax topcoat for extra protection. Melt the wax mixture, apply thinly, and buff to a soft sheen.
Step 7 – Cure and Test
Let the board cure overnight after the final coat. Test the seal by sprinkling water on the surface. Properly sealed wood causes water to bead rather than soak in. If water absorbs immediately, apply another coat and repeat the test. This water-bead test provides visual proof that the moisture barrier functions correctly.

How Often to Seal a Cutting Board
Sealing frequency depends on usage intensity and storage conditions. Humid climates require less frequent treatment than dry environments. Establish a routine based on these guidelines rather than waiting for visible damage.
New boards need intensive initial treatment. Apply oil once per week for the first month to build up protective layers. This schedule saturates the wood thoroughly before regular use begins.
Regular home use (three to five times per week) calls for monthly resealing. This frequency maintains the moisture barrier without excessive buildup. Mark your calendar or set a phone reminder to ensure consistency.
Heavy use in commercial settings or by avid cooks demands more attention. Reapply oil every two weeks or when the surface looks dry. Professional chefs often keep a bottle of mineral oil near the sink for quick touchups after washing.
Keep a maintenance log to track application dates. This record helps identify patterns in how quickly your specific board dries out. Adjust the schedule based on observed performance rather than following rigid rules.
Signs Your Cutting Board Needs Resealing
Visual and tactile cues indicate when the protective seal has degraded. Regular inspection catches problems before they become structural damage.
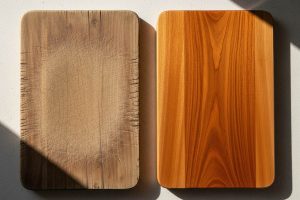
Wood Looks Faded or Dry
Loss of color signals loss of oil. Sealed wood maintains rich, warm tones. When the surface appears pale or ashen, the cells have lost moisture protection. This fading happens gradually, so compare the board to photos from when it was freshly sealed. The contrast reveals how much the finish has deteriorated.
Water Doesn’t Bead on the Surface
Perform the water test monthly. Sprinkle a few drops on the board and observe their behavior. Beading indicates an intact seal. If water spreads or soaks in within seconds, the barrier has broken down. This test provides objective evidence that resealing time has arrived, regardless of the board’s appearance.
Board Feels Rough or Starts to Splinter
Run your hand across the surface. Properly maintained wood feels smooth and slightly cool. Roughness indicates raised grain from water exposure. Splinters signal advanced drying where fibers have separated. Both conditions require immediate attention. Sand the surface lightly before resealing to restore smoothness and ensure proper oil absorption.
Additional Signs to Watch
Persistent odors suggest bacteria have penetrated unsealed wood. Even after washing, the board smells like onions or fish. This odor retention indicates that moisture has entered the cells, carrying food particles. Dark spots or discoloration may signal mold growth in unsealed areas. Address these advanced warnings immediately by deep cleaning, sanding, and resealing. Ignoring these signs can make the board unusable.
Read more: How to Restore a Cutting Board – Full Restoration, Maintenance & Preservation Framework
Final Thoughts
Sealing extends the life of cutting boards while protecting food safety. This practice prevents structural damage, blocks bacterial penetration, and maintains the board’s function and appearance. Regular resealing takes minimal time compared to replacing a cracked or contaminated board. Establish a monthly routine, use food-safe products, and respond promptly to signs of wear. A well-sealed board not only lasts longer, but it also protects your food and preserves the craftsmanship invested in quality kitchen tools. Whether you inherited a handmade board or purchased one for daily cooking, proper sealing honors that value and ensures years of reliable service.