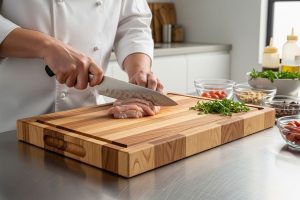
If your warped wooden cutting board wobbles every time you chop, you’re not alone. Wood naturally shifts with moisture and temperature changes, but the right care can restore its shape. Here’s how to fix the warp, prevent it from returning, and keep your board flat for years.
Why Did My Wood Cutting Board Warp?
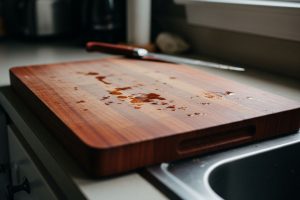
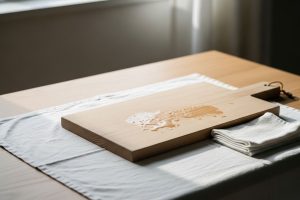
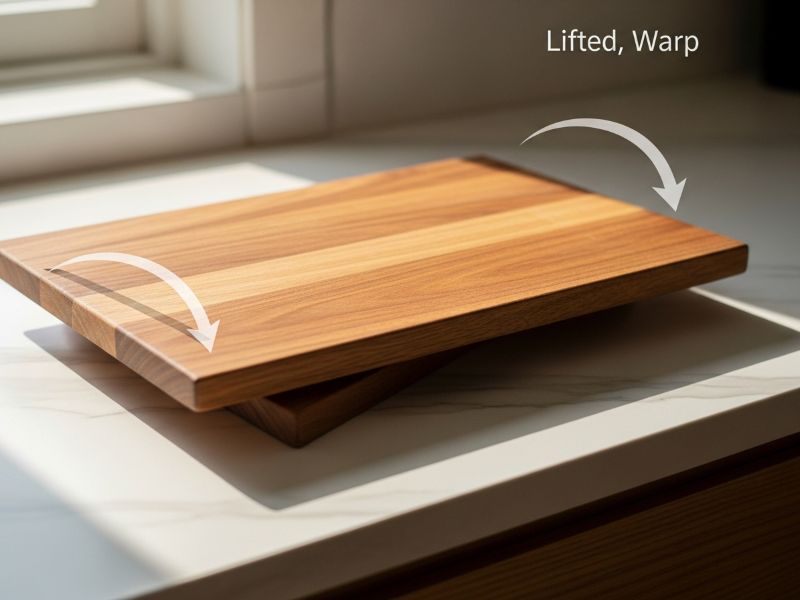
A warped wood cutting board means it’s no longer flat – maybe it wobbles, bows, or twists at the corners. This happens because wood naturally absorbs and releases moisture. When one side of the board stays wetter than the other, the fibers expand unevenly, creating internal tension that bends the surface.
Leaving a damp board face-down on the counter, storing it near heat, or putting it in the dishwasher can all cause warping. Even small humidity changes can shift wood fibers enough to alter its shape.
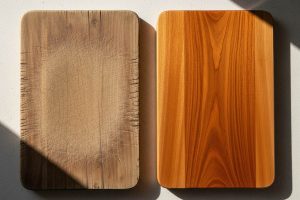
Warping usually appears in two forms:
- Cupping: the board curves upward like a shallow bowl.
- Twisting: opposite corners lift or dip unevenly.
Both happen when the board’s moisture balance is disrupted.
| Type of Warp | Visual Sign | Common Cause |
|---|---|---|
| Cupping | Board curves along width (U-shape) | One face exposed to moisture longer |
| Twisting | Opposite corners do not sit flat | Uneven grain direction or storage angle |
Understanding these mechanics helps you address the root issue. Warping is reversible in many cases if you act before the wood fibers are permanently set in the distorted position. The next section details how to restore flatness through controlled moisture adjustment and mechanical pressure.
How to Flatten a Warped Cutting Board
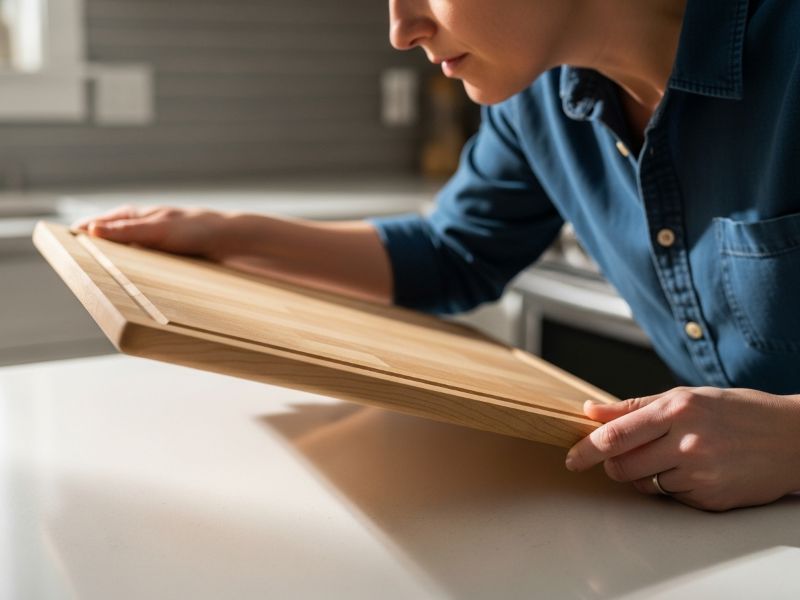
Before attempting any correction, assess the severity of the warp. Place the board on a flat counter and press down on each corner. If the wobble is less than 3 millimeters and the board remains structurally sound – no cracks or splits – flattening is feasible. Severe warping beyond 5 millimeters, or boards with visible cracks, may require professional planing or replacement.
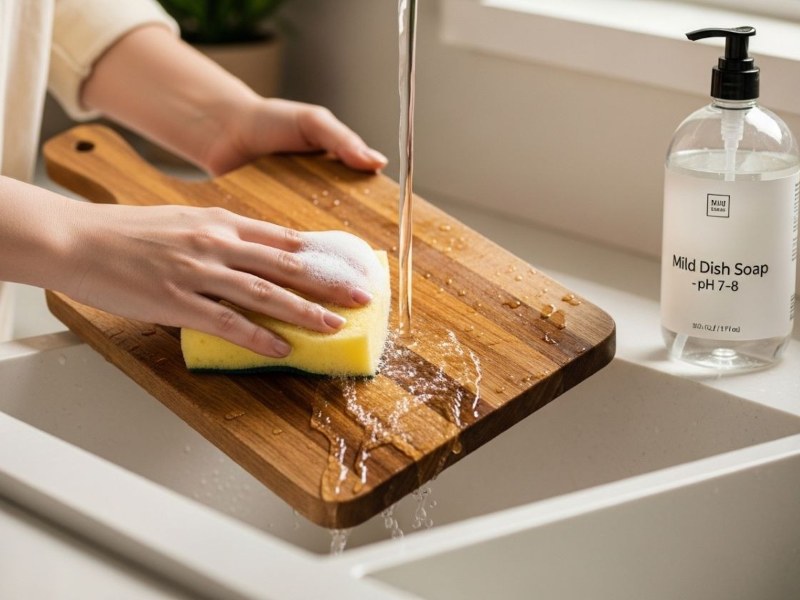
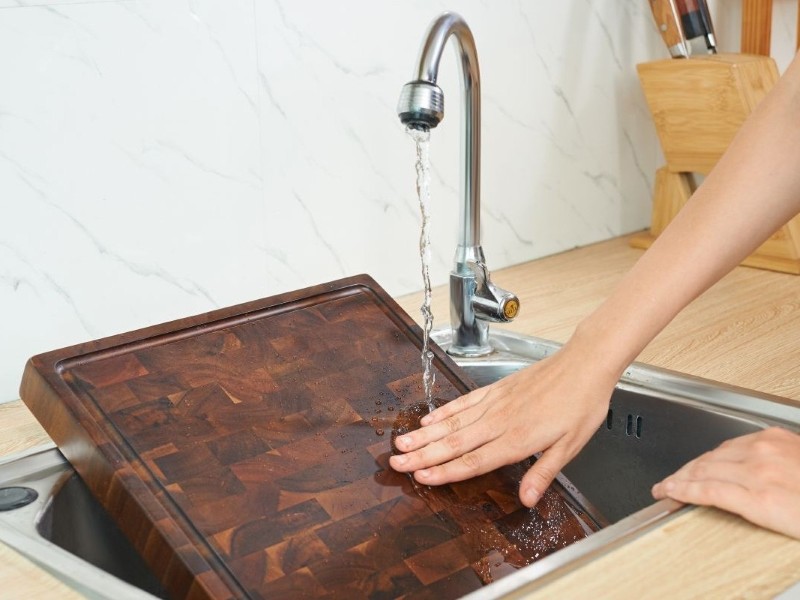
Step 1: Clean and Dry Thoroughly
Begin by washing both sides of the board with warm water and mild dish soap. Use a soft sponge to remove grease, food residue, and buildup. Rinse completely so no soap remains, then towel-dry both sides – moisture trapped on one face often worsens warping.
Stand the board upright in a well-ventilated area, away from heat or sunlight, and let it air-dry for about 12 hours. This helps equalize moisture through the board’s thickness before you add controlled humidity in the next step.
Step 2: Identify the Warp Direction
Lay the board on a flat counter. The convex side curves upward; the concave side rests lower. Understanding this difference is key – moisture will be added to the concave side to help it expand.
Run your hand along the surface to check whether the curve runs lengthwise (with the grain) or across it. This determines how to position weight or clamps later on.
Step 3: Add Controlled Moisture to the Concave Side
Dampen a clean towel with warm water until it feels moist but not dripping. Lay it directly on the concave side for 30–60 minutes, checking every 15 minutes to keep it damp.
The goal here is gentle rehydration: as the drier concave side absorbs moisture, its wood fibers swell slightly, counteracting the tension that caused the warp. Avoid soaking – the aim is balance, not saturation.
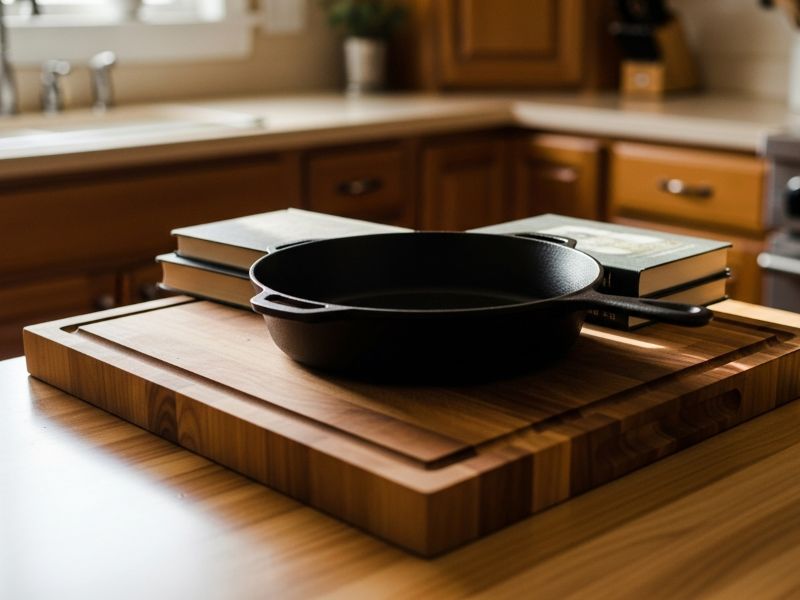
Step 4: Apply Weight and Pressure
After removing the towel, place the board concave side up on a flat surface. Distribute heavy objects – cast iron pans, thick books, or padded clamps – across the board’s surface to apply even pressure.
Maintain steady pressure for 24–48 hours to help the fibers settle flat. Avoid excessive force or placing weight only in the center or near the edges, which could cause cracks or uneven correction.
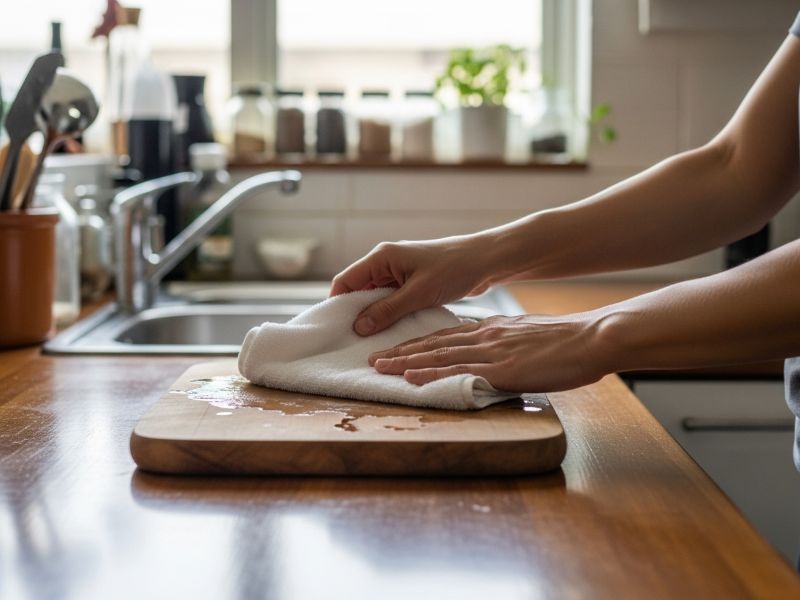
Step 5: Let It Rest and Reassess
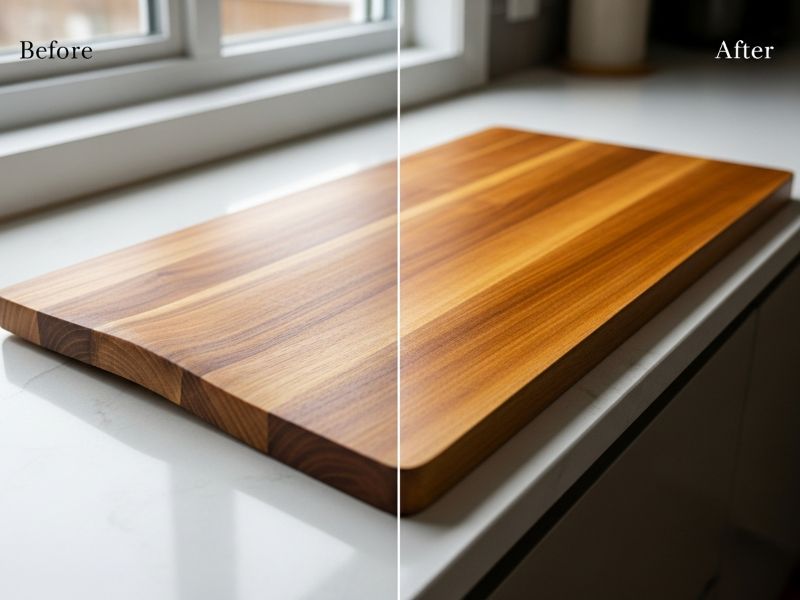
After 48 hours, remove the weights and check the board’s flatness. Place it on the counter and press each corner. If the wobble has reduced to less than 1 millimeter, the correction was successful. Wipe the board with a dry towel, then stand it upright to air-dry for another 24 hours. This final drying phase allows the wood to stabilize at a uniform moisture content.
If warping persists, repeat Steps 3–5 once or twice more. Severe or long-standing warps may not fully reverse, and in such cases, replacement may be the more practical choice.
Regular cleaning, even drying, and periodic oiling can help prevent warping from recurring – keeping your wooden cutting board both flat and food-safe for years to come.

How to Prevent Wood Cutting Board from Warping
Prevention requires less effort than correction. By establishing a routine that keeps moisture balanced and wood fibers stable, you avoid warping before it starts.
- Proper Cleaning and Drying
Always hand-wash your board after use with warm water and mild dish soap. Scrub both sides, rinse well, and towel-dry immediately – don’t let it sit wet on the counter.
Stand the board upright or lean it so air can circulate on all sides. Avoid leaving it flat where one face stays damp. Never put wooden boards in the dishwasher – the heat and water exposure can cause warping after just one cycle.
Read more: How to Clean A Wooden Cutting Board: A Practical Guide
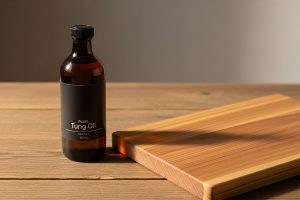
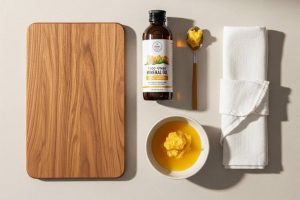
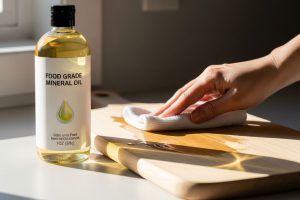
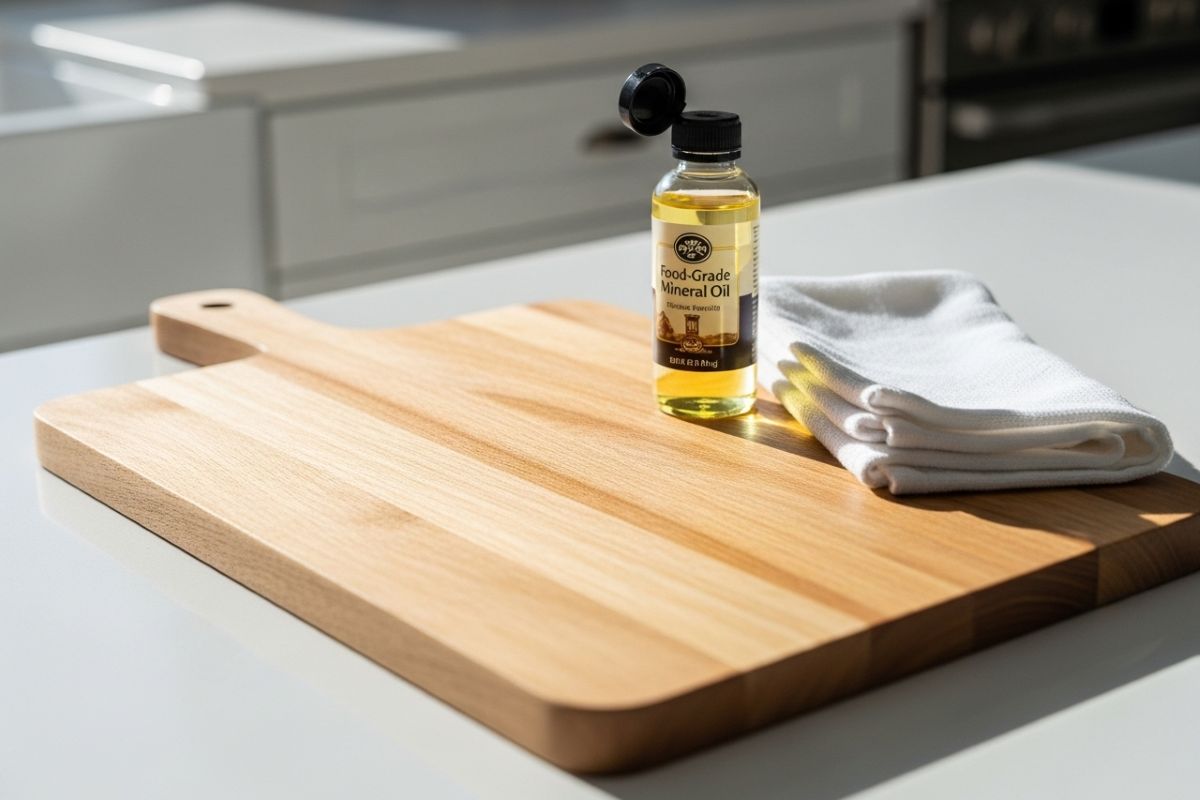
- Oiling Routine
Oiling helps the board resist rapid moisture changes. Every 4–6 weeks, apply food-grade mineral oil or a beeswax blend.
Pour a tablespoon of oil on the surface and rub it in with a clean cloth using circular motions. Treat both sides evenly, let it soak for several hours (or overnight), then wipe away any extra. Regular oiling won’t make the board waterproof, but it keeps the wood fibers stable and flexible.
Read more: How to Oil a Cutting Board: Step-by-Step Guide for Long-Lasting Results
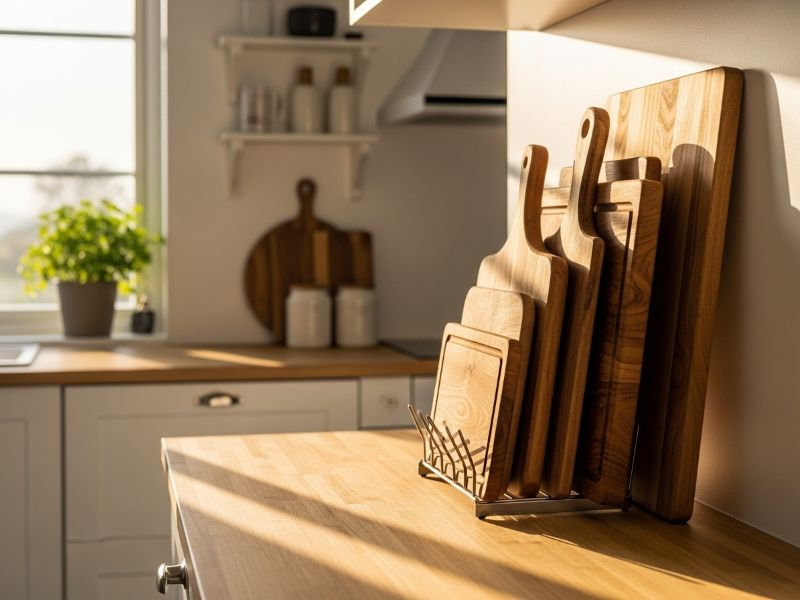
- Storage Environment
Wood reacts to humidity. Keep your board in a space where relative humidity stays between 35% and 50%. Avoid storing it near stoves, dishwashers, or sunny windows where heat can dry one side faster.
If possible, store the board upright or hang it on a rack so air reaches all surfaces. If stored flat, ensure there’s airflow underneath and nothing heavy pressing on it.
Read more: Where Can You Safely Store Clean Cutting Boards?
- Usage Habits
Rotate the board regularly to keep wear and moisture exposure balanced. For example, use one side for vegetables and the other for bread or cooked food. If one side gets wetter from frequent washing, give it extra drying time before storing.
Never soak the board in water to loosen food. Instead, scrape stuck-on bits with a bench scraper or spatula, then wash right away. Prolonged soaking saturates the wood and leads to swelling and distortion.
These steps form a protective routine. Boards maintained this way can last decades without warping. Prevention is the most reliable solution – once warping occurs, full restoration is not always possible. Investing a few minutes in proper care saves you the time and effort of flattening attempts later.
When to Replace a Warped Cutting Board
Even with diligent care, some boards reach the end of their functional life. Knowing when to replace a board protects your health and kitchen safety.
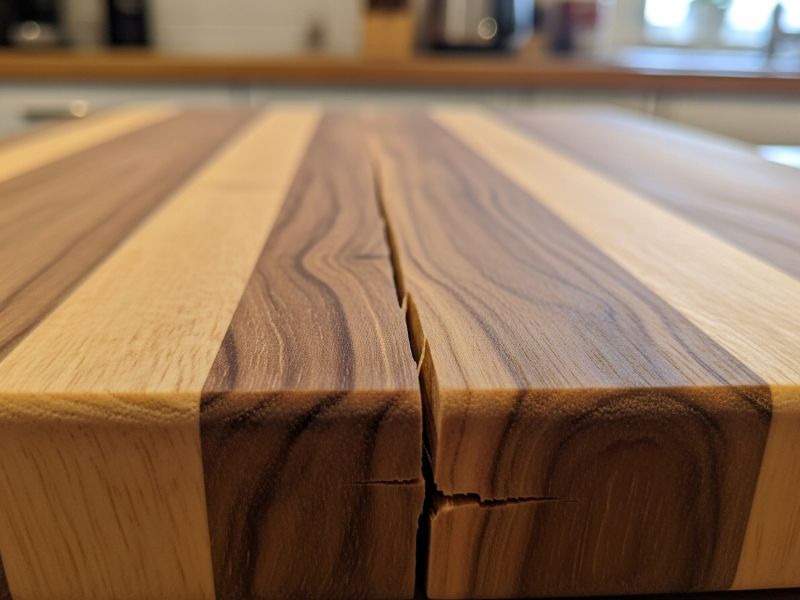
- Deep cracks harboring bacteria: Check for deep splits or black lines that extend beyond the surface. These cracks trap food particles and moisture, creating the perfect environment for bacteria to grow. If odors linger even after cleaning or you see dark spots inside the cracks, it’s time to replace the board – continued use risks contamination.
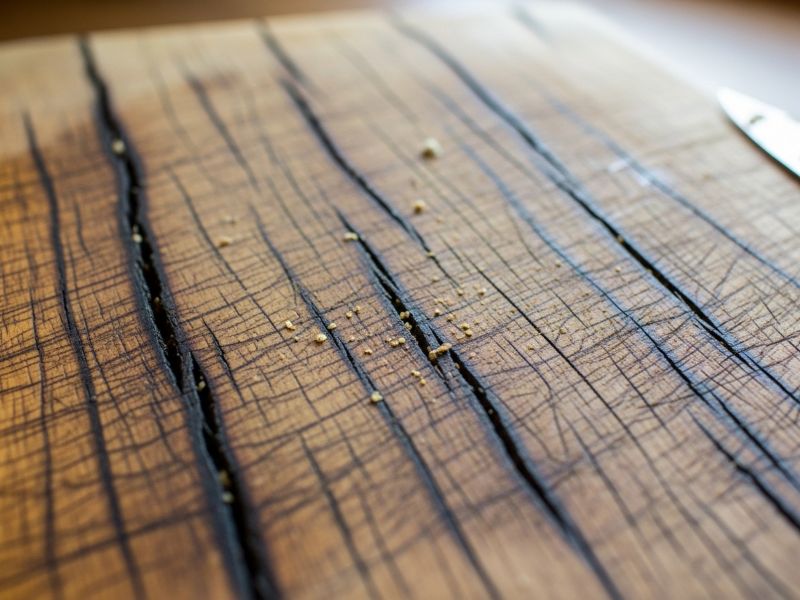
- Excessive warping beyond 5 millimeters: If your board rocks noticeably or the gap between the center and edges exceeds 5 millimeters, it’s no longer safe to cut on. A warped surface causes knives to slip and makes precise cutting difficult. Once wood fibers are permanently deformed, flattening rarely works – replacing the board is safer and more cost-effective.
- Loose joints or delamination in edge-grain or end-grain boards: For end-grain or edge-grain boards, inspect glue joints. If sections separate or flex when pressed, the adhesive has failed due to moisture or stress. A board coming apart under knife pressure can be dangerous. These structural issues can’t be repaired effectively at home, so replacement is the best choice.
- Persistent smell or discoloration: If no amount of scrubbing removes old smells of garlic, onions, or raw meat – or if the board shows slimy, dark patches – the damage runs too deep. Such discoloration often means mold or bacteria have penetrated the fibers. A board that can’t be sanitized properly shouldn’t touch food again.
- Hygiene and safety take priority: Your cutting board is in direct contact with what you eat. When in doubt about its safety, replace it. The cost of a new board is minimal compared to the risk of foodborne illness or knife injury.
- Before discarding, consider repurposing: Before throwing it away, give your old board a second life. A warped or cracked one can become a serving tray for bread or cheese, a plant stand, or even wall décor. Just sand it smooth, oil it, and use it for non-food purposes.
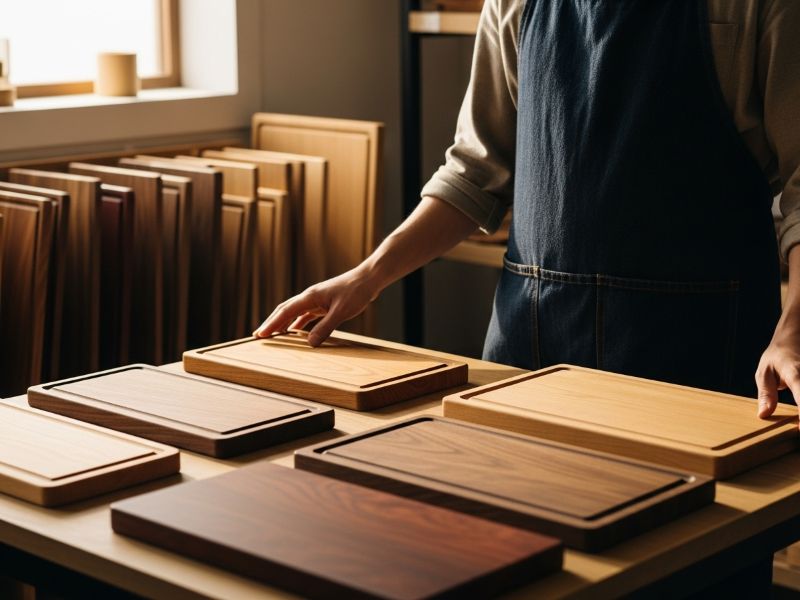
- Choosing a replacement board wisely prevents future warping: When buying a new one, pick dense hardwoods like maple, walnut, or cherry – they resist moisture better. Go for at least 1.5 inches thick (for end-grain boards) and check that glue joints are tight and even. A well-built board from a reputable maker, paired with proper care, will last for years without warping.
Read more: Best Wood for Cutting Boards: Which Wood is Right for You?
Final Thoughts: From Warped to Well-Kept
Warping is a natural response to wood’s interaction with moisture, not a sign of poor craftsmanship. Understanding the causes – uneven drying, hygroscopy, environmental stress – empowers you to prevent the issue before it starts. When warping does occur, flattening is achievable through controlled moisture adjustment and patient pressure. Prevention, however, remains the most effective strategy: hand-wash and dry both sides, oil regularly, store in stable conditions, and rotate usage. These habits keep your board flat, functional, and safe.
Your cutting board tells the story of your kitchen – the meals prepared, the care invested, the routines that shape daily life. Treat it as a partner in your cooking, not a disposable tool. When maintenance can no longer restore its integrity, replace it without guilt. A board that served you well deserves retirement, whether as a serving piece or a repurposed item. By applying the knowledge in this guide, you extend the life of your boards, reduce waste, and maintain a safer, more efficient kitchen. From warped to well-kept – the difference is in the details.