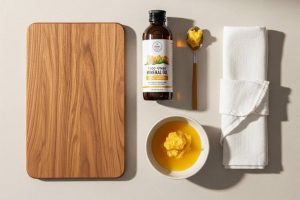
Wooden cutting boards are prized for their durability, natural antibacterial properties, and knife-friendly surface. However, knowing how to clean wood cutting board properly is essential, because these benefits can be undone if the board isn’t cleaned and maintained well—turning a safe, trusted kitchen tool into a hidden source of contamination. And because your cutting board touches your food right before you eat, it needs to be just as clean as your hands.
-
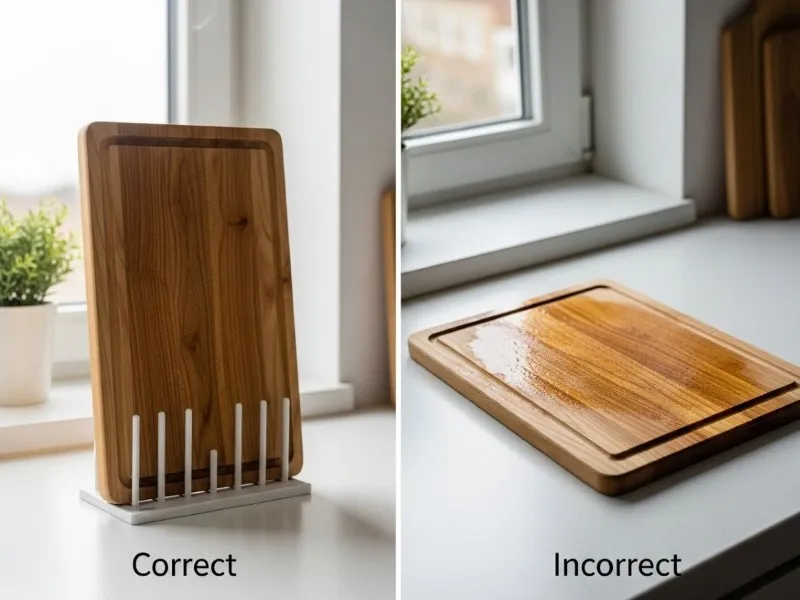
Proper care prevents mold and keeps wooden cutting boards looking their best
Why Proper Cleaning Matters for Wooden Cutting Boards
Your wooden cutting board is more than just a kitchen tool — it’s an essential part of keeping your meals safe. If it touches your food before you eat, it needs to be as clean as your hands. Yet many home cooks unknowingly sabotage their boards through improper care, turning what should be a naturally antimicrobial surface into a breeding ground for bacteria.
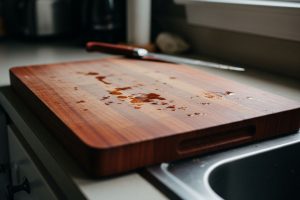
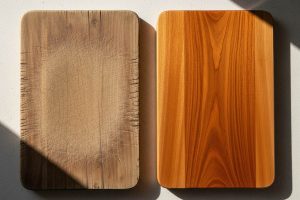
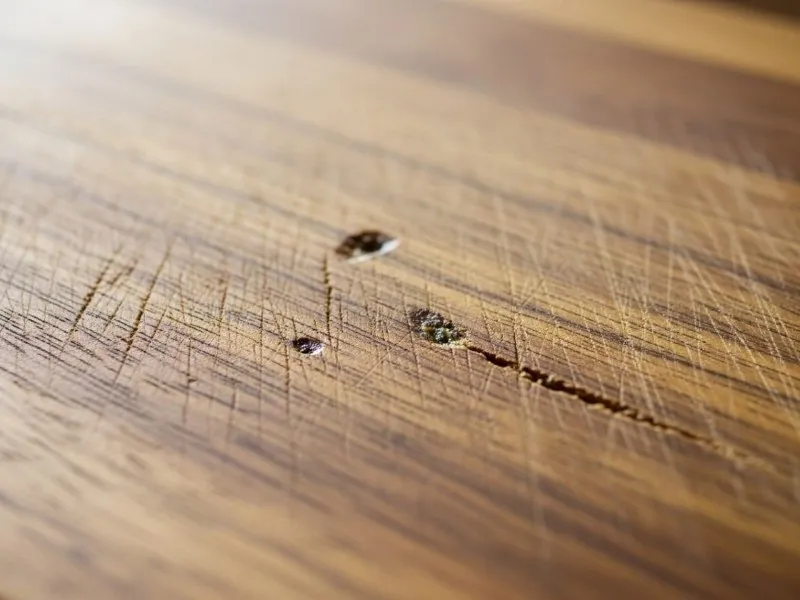
Wood is inherently porous, with a complex network of fibers that can trap moisture, food particles, and microorganisms when not properly maintained. This isn’t necessarily a design flaw — in fact, research from UC Davis shows that wood’s porous nature actually helps kill bacteria by drawing them into the grain where they dehydrate and die. But this natural defense system only works when the board is properly cleaned and maintained.
-

The porous surface of wood traps moisture and bacteria but also helps eliminate them when properly maintained
The consequences of neglecting your wooden cutting board can be serious. Salmonella, one of the most common foodborne pathogens, can survive up to 12 hours on unclean wood surfaces. E. coli, another dangerous bacteria often found in raw meat, can persist even longer in the deep grooves of a poorly maintained board. The USDA explicitly recommends sanitizing boards after handling raw meat — a step that many home cooks skip, thinking a quick rinse is sufficient.
It’s easy to think that more water or stronger cleaning means better hygiene — but with wooden cutting boards, that approach can backfire. Leaving your board to soak or tossing it in the dishwasher may seem efficient, but both can cause the wood to warp, crack, or lose its smooth finish over time. And once the surface becomes uneven, cleaning it thoroughly gets a lot harder.
-
Salmonella and E. coli can survive for hours on unclean wooden cutting boards, especially in deep grooves. Always sanitize your board after cutting raw meat to prevent foodborne illness
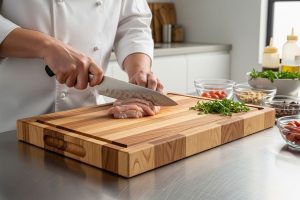
Daily Cleaning Routine: How to Clean Your Board the Right Way
The secret to maintaining a pristine wooden cutting board isn’t complicated — it’s about consistency and using the right technique every single time. Think of cleaning your board like caring for a cast-iron skillet: the daily routine matters more than occasional deep cleaning.
Step-by-Step Instructions
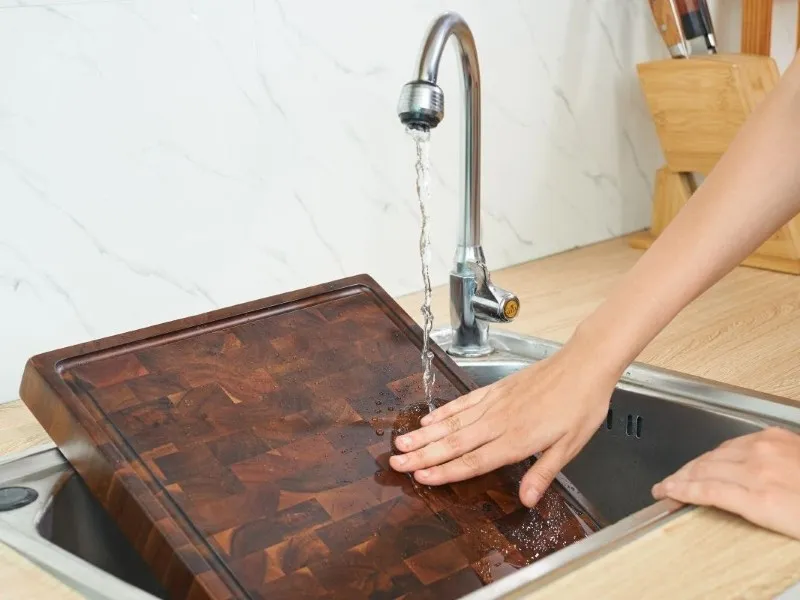
Step 1: Rinse immediately after use
Timing is everything when it comes to cleaning a wooden cutting board. The moment you finish cutting, rinse your board with warm water at approximately 104–113°F (40–45°C). This temperature range is crucial — hot enough to loosen food residue and provide gentle sanitization, but not so hot that it damages the wood fibers or causes thermal shock. If you’ve been cutting something particularly sticky or staining (like beets or turmeric), this immediate rinse prevents the pigments from settling into the wood grain.
-
Rinse board promptly with warm water to prevent stains and damage
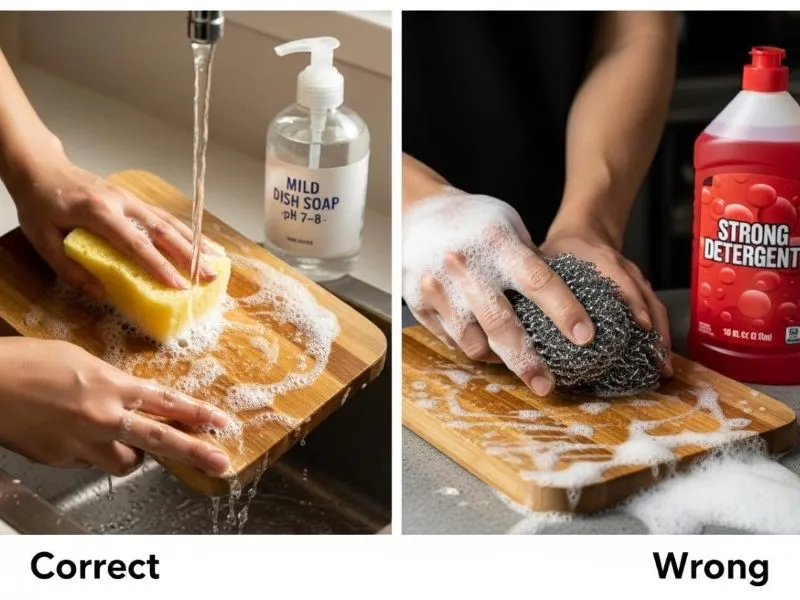
Step 2: Use mild dish soap with care
Choose a mild dish soap with a pH between 7 and 8 — essentially neutral to slightly alkaline. Why does pH matter? Highly acidic or alkaline cleaners can break down the lignin that holds wood fibers together, gradually degrading your board’s structure. Apply a small amount of soap directly to the board or to a soft sponge. Avoid harsh chemicals like bleach or ammonia-based cleaners, which not only damage the wood but can also leave residues that transfer to your food.
-
Use mild, neutral pH soap for cleaning wooden boards; avoid harsh detergents that damage wood and leave residues
Step 3: Scrub both sides thoroughly
Using a soft sponge or nylon brush, work the soap into the board using gentle circular motions. Pay special attention to both the top and bottom surfaces — many people forget that bacteria can transfer to the underside when the board is flipped during use. The edges deserve extra attention too, as they’re often where water and food residue accumulate, creating perfect conditions for bacterial growth. If your board has a juice groove, use a small brush (an old toothbrush works perfectly) to clean this channel thoroughly.
-
Scrub both sides, edges, and juice groove to remove residue and bacteria

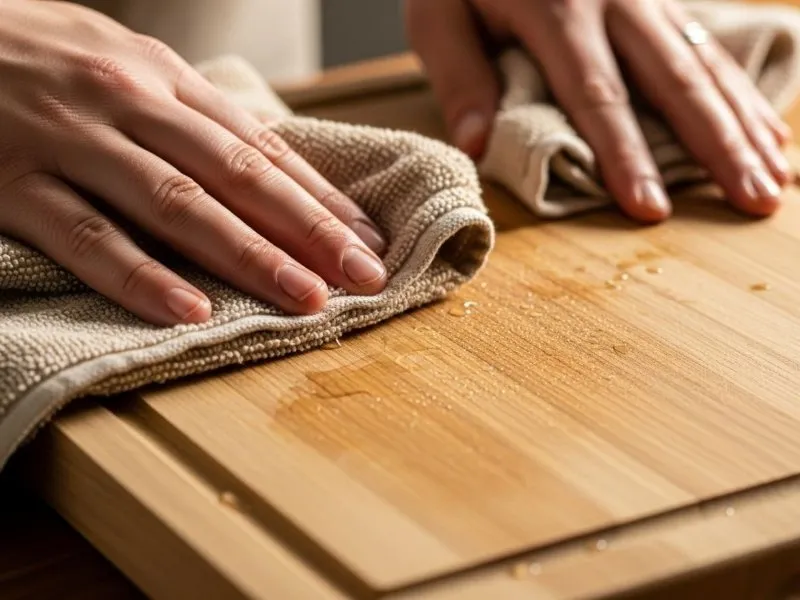
Step 4: Dry thoroughly with the right materials
After rinsing off all soap residue with clean warm water, immediately dry your board with an absorbent cotton or microfiber towel. This isn’t just about removing surface water — you’re preventing moisture from penetrating deep into the wood grain where it can cause swelling, warping, and eventually, mold growth. Wipe both sides with equal attention, ensuring no moisture remains in any grooves or imperfections.
-
Dry your cutting board immediately with a soft towel to prevent moisture damage
Step 5: Stand the board vertically for complete drying
Never lay a damp wooden cutting board flat on your countertop. This traps moisture on one side, leading to uneven drying, which causes warping and mold growth. Instead, stand your board upright in a ventilated rack or lean it against your backsplash at an angle. This allows air to circulate around all surfaces, ensuring even drying. If you have limited counter space, consider investing in a dedicated board rack — it’s a small investment that can significantly extend your board’s life.
-
Place boards vertically to dry evenly; avoid placing boards horizontally to prevent warping and mold
How to Sanitize a Wood Cutting Board (Step-by-Step Guide)
While daily cleaning handles routine maintenance, certain situations demand more intensive sanitization. Understanding when and how to deep clean your wooden cutting board is crucial for both food safety and preserving the board’s integrity.
When to Sanitize Deeply
Make deep sanitization a weekly habit, but perform it immediately if you’ve cut raw meat, seafood, or eggs on your board. The USDA reminds us that wood boards are safe only when cleaned and sanitized properly, especially after handling raw foods that can carry E. coli or Salmonella. Additionally, deep clean whenever your board develops unpleasant odors or when stains from foods like tomato, turmeric, coffee, or beets won’t come off with regular washing.
-
Foods like raw fish and garlic can cause odors—deep clean your board regularly
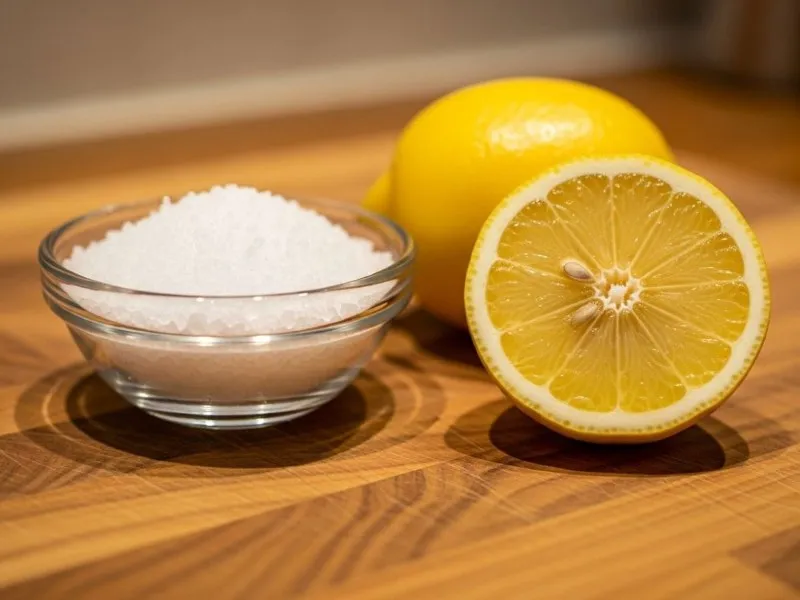
For Strong Odors: Onion, Garlic, Fish
Pungent odors don’t just linger on the surface — they penetrate the wood grain and can transfer to other foods, turning your fresh strawberries into a garlic-infused nightmare. The chemistry behind these odors involves sulfur compounds (from onions and garlic) and amines (from fish) that bind to wood fibers, making it essential to sanitize your board thoroughly to remove them.
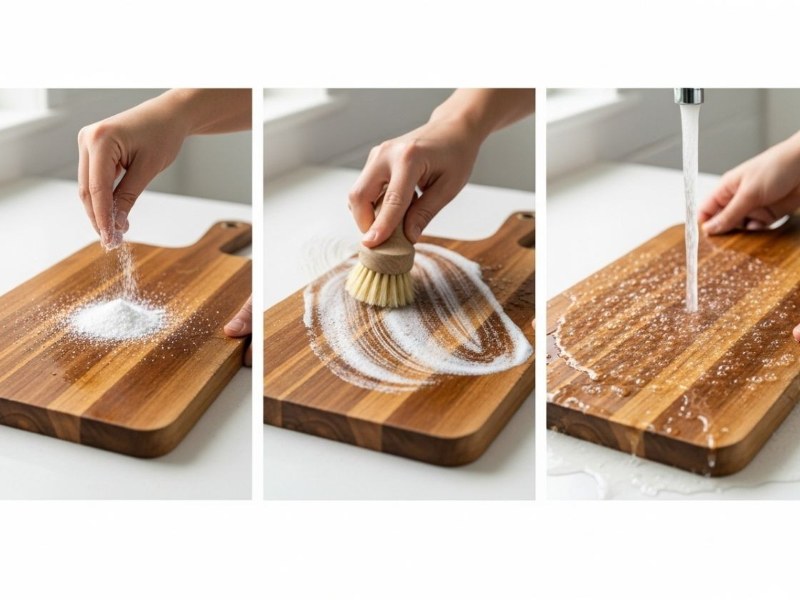
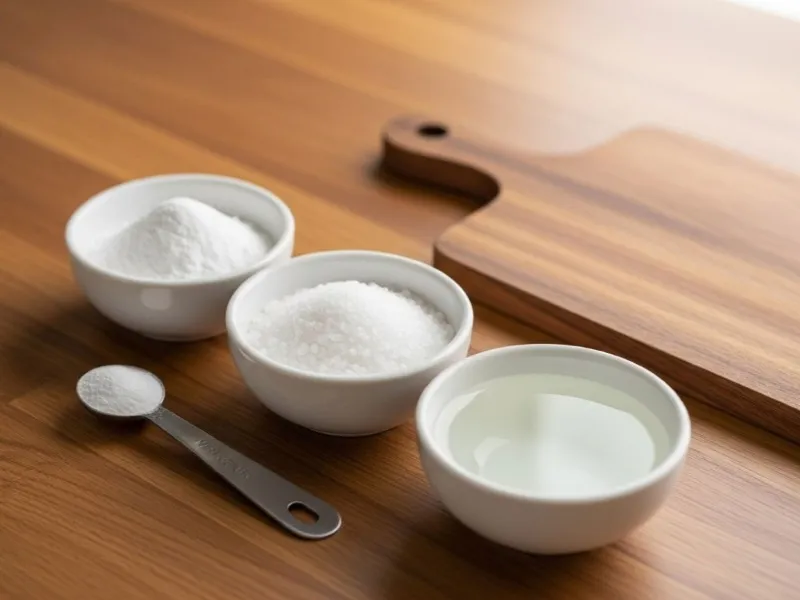
Salt + Fresh Lemon Method: Start by sprinkling 1–2 tablespoons of kosher salt across your board’s surface. The coarse texture acts as a gentle abrasive while the salt draws out moisture and odor compounds. Cut a lemon in half and use it like a scrub brush, working the salt in circular motions across the entire surface. The citric acid in lemon juice breaks down odor molecules while leaving a fresh scent. Let this mixture sit for 10 minutes to allow the acid time to work, then rinse with warm water and dry thoroughly.
-
Use salt and lemon to naturally scrub and deodorize your cutting board
Baking Soda Alternative: For those sensitive to citrus or dealing with stubborn odors, baking soda works well. Sprinkle 1 tablespoon on a damp board, scrub along the grain for 1–2 minutes, let sit 5 minutes, then rinse. NSF International confirms it neutralizes odors by reacting with acidic and basic compounds. It’s also a quick, effective option for how to sanitize your wooden cutting board while keeping it fresh.
-
Use baking soda to scrub, neutralize odors, and refresh your cutting board naturally
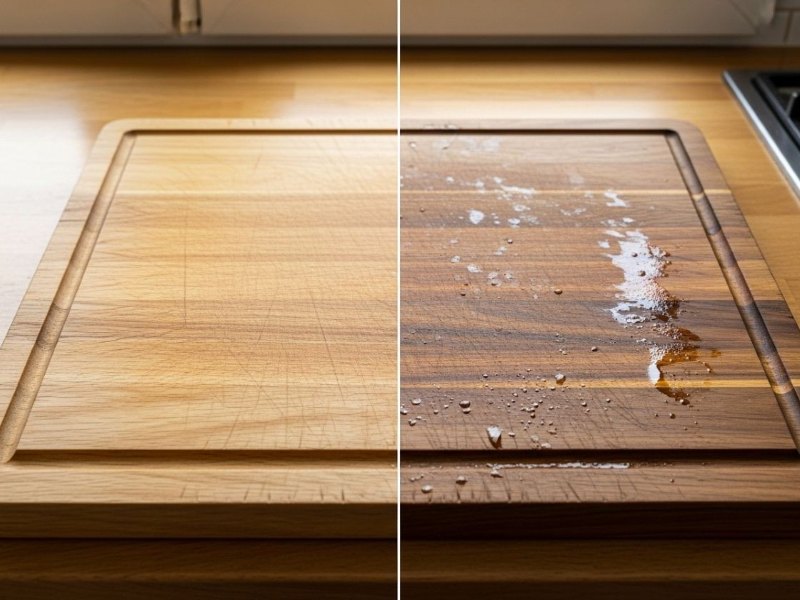
For Stubborn Stains: Tomato, Beets, Coffee, Turmeric
These foods contain powerful pigments — lycopene in tomatoes, curcumin in turmeric, betanin in beets — that bind strongly to wood fibers. Rather than letting these stains become permanent features of your board, tackle them with a DIY natural cleaning paste.
Natural Cleaning Paste Recipe: Combine 1 tablespoon baking soda, ½ tablespoon salt, and 1 tablespoon white vinegar to create a mildly abrasive paste. The chemical reaction between baking soda and vinegar creates carbonic acid, which helps break down organic stains. Apply this paste directly to stained areas and scrub for 2 minutes with a soft brush, working along the wood grain. Let the paste sit for 5–10 minutes to continue breaking down the stain molecules, then rinse thoroughly with warm water and dry completely.
-
Natural ingredients to make a cleaning paste for removing stains from wooden boards
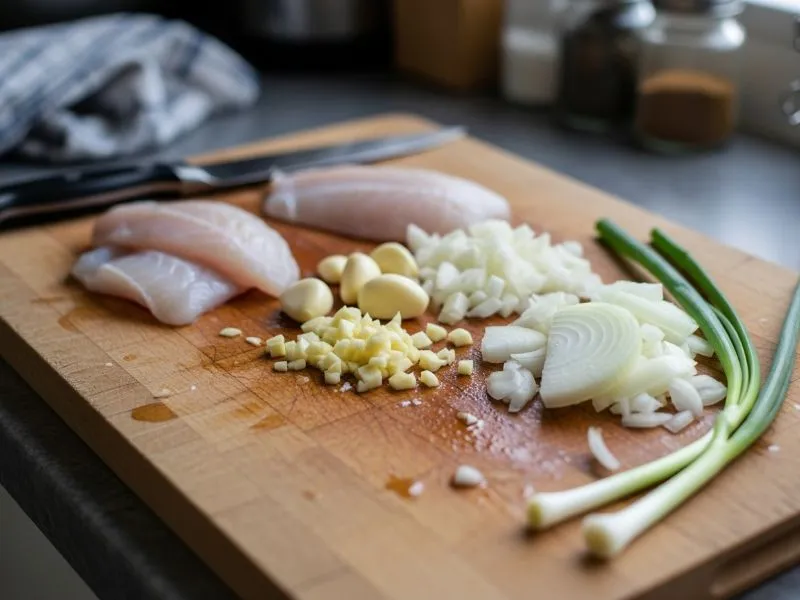
After Cutting Raw Meat, Eggs, or Seafood
This is when sanitization becomes non-negotiable. Raw proteins carry the highest risk of foodborne pathogens, and simple soap and water may not eliminate all bacteria from the wood’s porous surface.
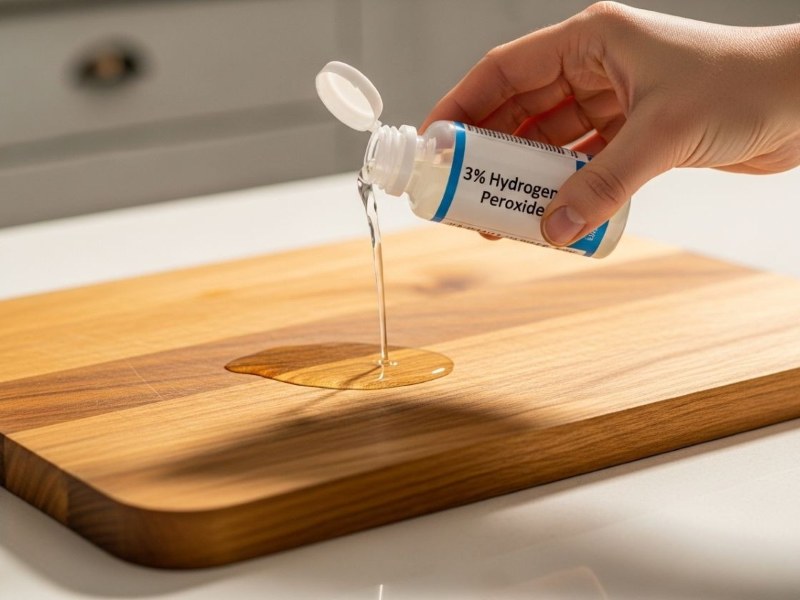
3% Hydrogen Peroxide Method: Pour 2–3 tablespoons of undiluted 3% hydrogen peroxide directly onto your board’s surface. Using a soft brush or cloth, work the peroxide across the entire cutting surface, paying special attention to any knife marks where bacteria might hide. Let it sit for 10 minutes — during this time, it’s actively oxidizing bacterial cell membranes to sanitize the board. According to Dr. Dean Cliver from the University of Wisconsin, this method kills up to 99.9% of bacteria including E. coli and Salmonella. After the waiting period, rinse thoroughly with warm water and dry completely.
-
Use 3% hydrogen peroxide to sanitize cutting boards and kill bacteria effectively
Bonus Natural Tips: Consider sun-drying your board for 30 minutes after deep cleaning. UV radiation provides additional natural sanitization while helping to deodorize the wood. For light weekly maintenance between deep cleans, you can wipe your board with diluted vinegar (1 ratio with water), though skip this if you’ve recently oiled your board as the acid can strip away the protective oil layer.
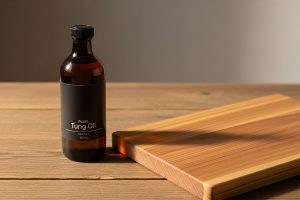
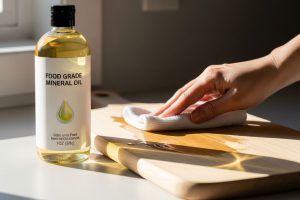
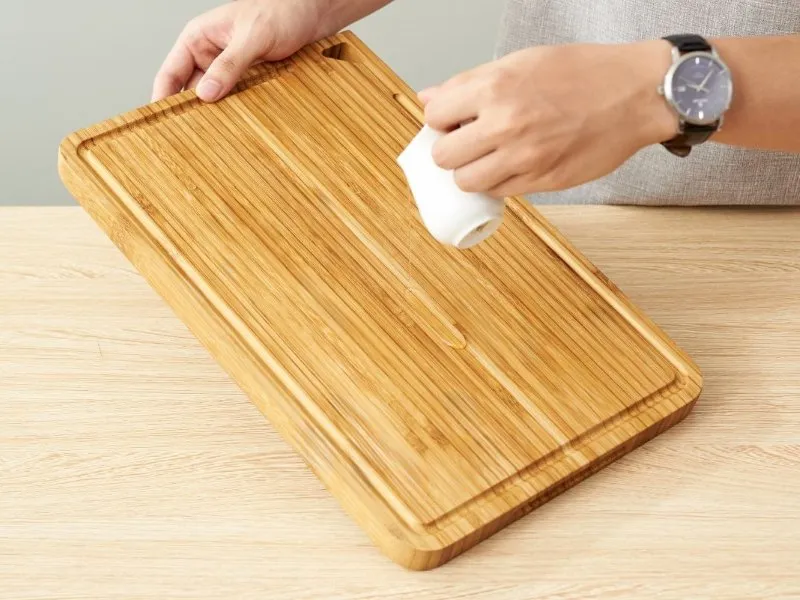
Oiling: The Overlooked Step in Cutting Board Care
Wooden cutting boards stay at their best when they’re cared for inside and out. Don’t forget to oil your cutting board from time to time — this simple habit helps lock in moisture, prevent cracks, and keep the surface looking beautiful for years. You can find more tips in our full oiling guide.
-
Oiling your cutting board keeps it moisturized, prevents cracks, and prolongs its life
How to Know When It’s Time to Replace Your Board
Why You Shouldn’t Keep Using a Damaged Cutting Board
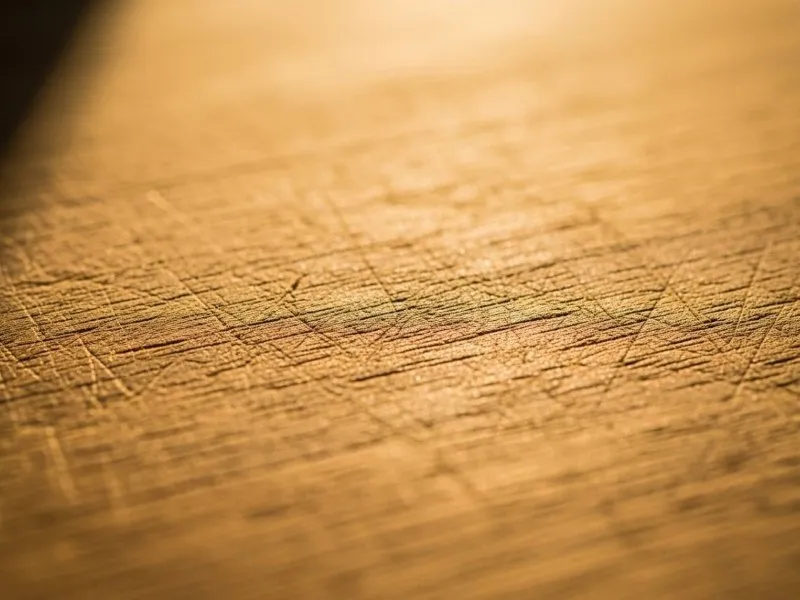
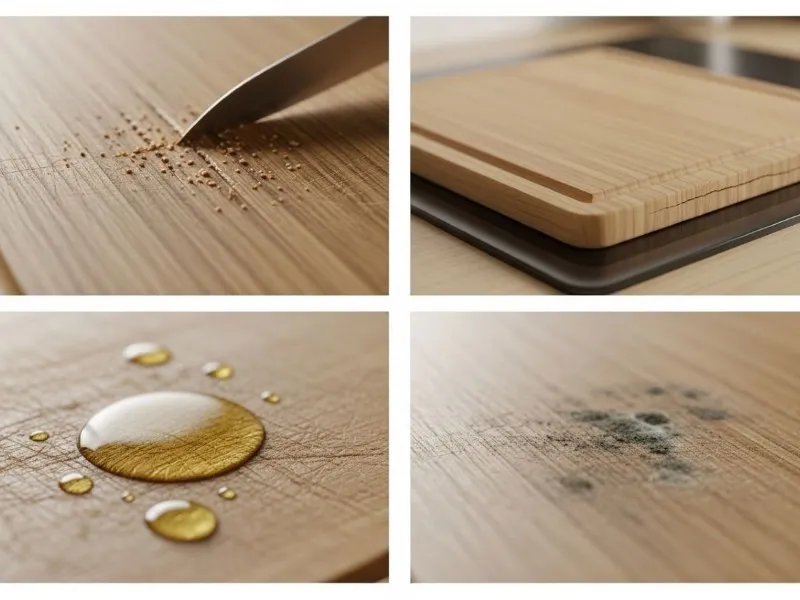
Cracks, deep grooves, mold, or warping aren’t merely cosmetic issues — they pose genuine health risks and compromise your cooking experience. A study by the Institute of Food Safety and Hygiene in Switzerland found that deep knife grooves harbor bacteria like E. coli and Salmonella, creating contamination zones that regular cleaning can’t reach. According to a 2021 FDA report, mold or decay on cutting boards is one of the leading causes of cross-contamination in home kitchens, particularly when boards are used for both raw meats and ready-to-eat foods.
Clear Signs It’s Time to Replace Your Board
Deep knife grooves that can’t be cleaned When food particles or liquids get trapped in visible grooves, they create bacterial breeding grounds. These cuts often run too deep for effective sanitizing, even with hydrogen peroxide or vinegar treatments.
Cracks, chips, or severe warping A board that rocks on your countertop or no longer lies flat becomes unstable for cutting — creating a serious safety hazard. Edge cracks tend to spread over time, eventually causing the board to split or develop internal rot.
Oil no longer absorbs into the wood If oil pools on the surface rather than soaking in, the wood’s fiber structure may be sealed off, damaged, or degraded — indicating structural failure that compromises both function and food safety.
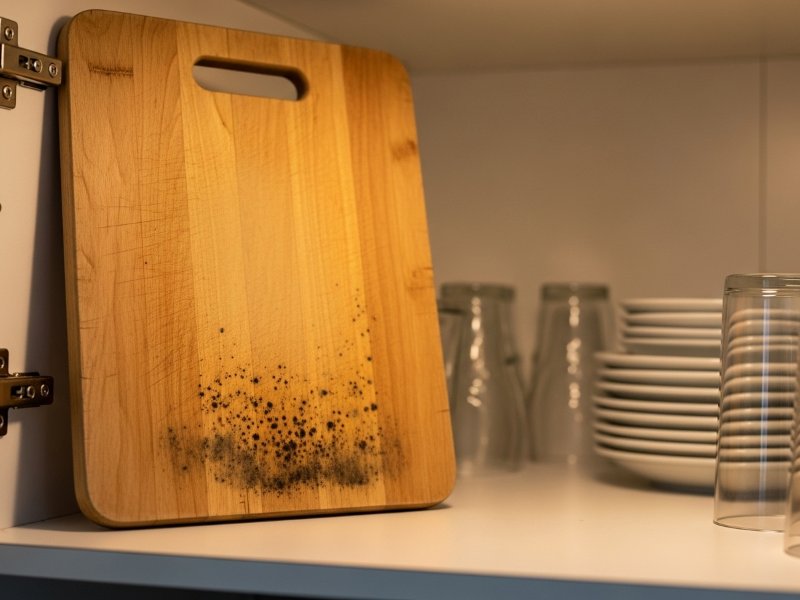
Mold patches or spreading dark spots Mold develops when boards remain damp or are stored improperly. Once mold penetrates deep into the grain, it’s nearly impossible to eliminate completely, even with aggressive sanding or oiling.
-
Clear signs your wooden cutting board needs replacing: deep knife cuts, cracks or warping, oil no longer absorbing, and mold patches that won’t go away
Storage & Safety: Habits That Keep Your Board Clean, Durable, and Safe – Do & Don’t – Proper Storage Habits
DO: Best Practices
- Stand your board upright in a well-ventilated area after each wash, allowing both sides to dry evenly. This simple practice prevents the warping that occurs when one side dries faster than the other.
- Always dry thoroughly with a clean cotton or microfiber towel, or air dry for 20–30 minutes before storing. Residual moisture is the enemy of wood longevity.
- Keep your board away from heat and humidity sources — never store near stovetops, sinks, or dishwashers where temperature fluctuations and moisture can cause damage.
- Use a dedicated board rack that ensures airflow on both sides. This small investment pays dividends in board longevity and hygiene.
- Try maintaining indoor humidity below 60%, especially in tropical or humid climates, as recommended by the National Wood Flooring Association. Consider using a dehumidifier in your kitchen if necessary.
-
Storing your cutting board upright in a dry, shaded, and airy spot helps prevent warping and prolongs its lifespan

DON’T: What to Avoid
- Don’t lay your board flat when wet — uneven drying is the primary cause of warping in wooden boards.
- Don’t store it underneath dishes — the weight combined with trapped moisture creates ideal conditions for bacterial growth and wood degradation.
- Don’t place it in a sealed cabinet immediately after washing — poor airflow promotes mold growth that can spread throughout your kitchen.
- Don’t sun-dry in harsh midday light — while gentle UV exposure helps sanitize, extreme heat causes cracking and splitting.
- Don’t hang heavy boards by a single hole — over time, this concentrated stress point causes warping at the top of the board.
- When you first bring your board home, let it acclimate to your environment for 24–48 hours in a dry, shaded area. This adjustment period, recommended by Russell Smith from Santa Fe Community College’s Fine Woodworking Program, allows the wood to adapt to your home’s humidity level, preventing initial warping or cracking.
-
Storing wooden cutting boards in a sealed, humid cabinet can promote mold growth and damage the wood over time. Ensure proper airflow to keep boards dry and healthy
Final Takeaway
Proper storage and cleaning habits, including knowing how to clean wood cutting board effectively, don’t merely extend your board’s lifespan — they protect your family’s health by reducing cross-contamination, one of the most common causes of foodborne illness in home kitchens. The small habits we’ve discussed — storing boards upright, separating them by use, and maintaining a regular oiling schedule — create a foundation for both kitchen efficiency and family well-being.
Your wooden cutting board is more than just a kitchen tool; it’s an investment in sustainable living and skilled craftsmanship. By following proper maintenance and cleaning practices, you not only preserve a beautiful piece of kitchen equipment but also honor the natural materials and artisan work behind it. With the right care, your cutting board will remain a trusted companion on your culinary journey for many years to come.